Kevin advised me that the chipset and processor of the Dell mini is so similar to the MSI Wind that a
special slipstreamed version of 10.5 customized for the MSI Wind would be perfect (and painless) to get the little guy up and running.
The steps to Leopard-ize the mini are actually quite simple and easy to follow. After you download the slipstreamed ISO and burn the 3.2GB ISO to a DVD you boot up the Dell mini off a external DVD drive (Press 0 (Zero) at the BIOS screen) and installed Leopard as usual.
Once you complete the install all components except the wireless, and sound worked. After some searching on the Dell forums I found two files that enabled the disabled Broadcom wireless adaptor and audio chipset, which you can
find here.
Unzip the archive from the previous step and open Terminal in Leopard on the Dell mini. Type in sudo and drag the bcm43xx_enabler.sh icon to the Terminal window. Press the Enter key, type in your admin password on the keyboard and follow the instructions. (For those who don’t like to read - basically press Enter four times and restart).
When that is done, restart the computer and run the ALC268_Installer1 application (That was included in the archive) to enable sound chipset on the mini.
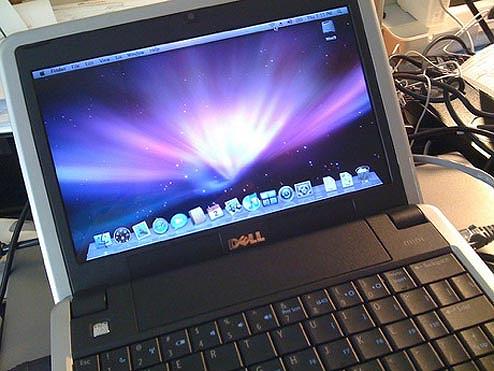
After you restart again and you have a fully functioning Mac OS enabled Dell mini 9.
I have had success updating to 10.5.5. Just use software update to download the update and reapply the patches. Proceed with caution on the update, milage may vary.
[必要なもの]
- DVD-ROMドライブ
- こちらのISOを焼いたCD-R(以下boot123)ここから最新を探せます。
- リテールのLeopardDVD
[手順]
- BIOSの起動順序の設定で光学ドライブを先頭に持ってきます。
- ダウンロードしてきたboot123から起動します。
- プロンプトが出てきたらLeopardのインストールディスクと入れ換え、9fと入力。(二度入力するので二度目は-fのオプションをつけてください。ディスクが読み取れない場合は一旦DVDドライブの電源を入れなおすとうまくいく場合あり。)
- Leopardのインストーラが起動するので、その前にディスクユーティリティでパーテションをGUIDにしてフォーマット。
- Leopardをインストール。途中でカスタマイズオプションを選んで使わない言語を全部はずしておかないと容量が足りなくなるので注意。
- 10.5の場合はインストールが失敗しました!とショックな画面で終わりますが、電源ボタン長押しで無理やり再起動。10.5.6の場合は無事インストールが終了しました。そして再起動。
あ、boot123からブートしてください。
- その中にあるminiscriptをクリックして、開いてくるダイアログにyepとか答えて進めます。2fingerScrollを入れるか訊いてきますが、うちではこれを入れるとそこでスクリプトがエラーを起こして止まったので、これはここでは入れない方がいいと思います。
- 終わったら再起動(ここではまだ自動で電源は切れないので電源長押し。)
- SSDからDarwinが起動し、Leopardが無事に起動すればインストール完了です。
最終更新:2009年08月13日 22:54